I added some foil on the Celtic piece, finished the coffee tray.
I was brewing a bunch of tea for the tray, so I dyed a bunch of gauze and baby wipes didn't want to waste the tea;):)
I still have to take a pick of the 2 paper cast I did..
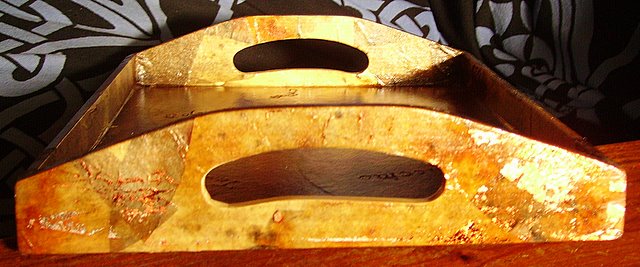
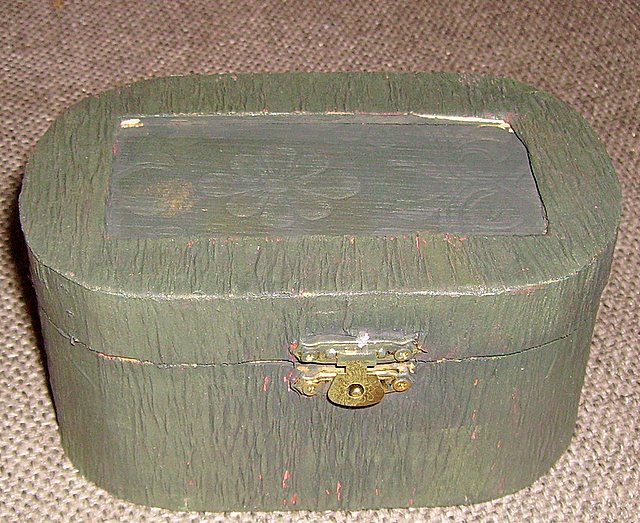
I cover too little wood boxes, a tiny one looks like a suitcase
so I'm making it look like a vintage one, the other I started to cover it with some of the painted papers,(in earlier post).
I was trying to make a pretty face out of polymer clay Not!!
It wasn't looking like a human so I made 4 charms instead with it... I put Chinese letters on them and have put some cream colors on them need pics when finished them..
Well the BAD part, I finally got on that DARN sewing machine
"sigh" started to sew a design on the back, got a small bit done,,,, then the bobbin was empty, thread gone..
So I took it out got a nice color and tried to fill it on the bobbin filler
*^%%#$$^&&%%$$%%^^##@#$$ it wonldn't move..
so now I am at a stand still on the sewing machine, might have to go and use SuziQs unless I can fix it, doubt that but I will
push ahead and do it " big sigh"
Good thing Suzie's is brand new:):)
Okay later...
Magpies Envy

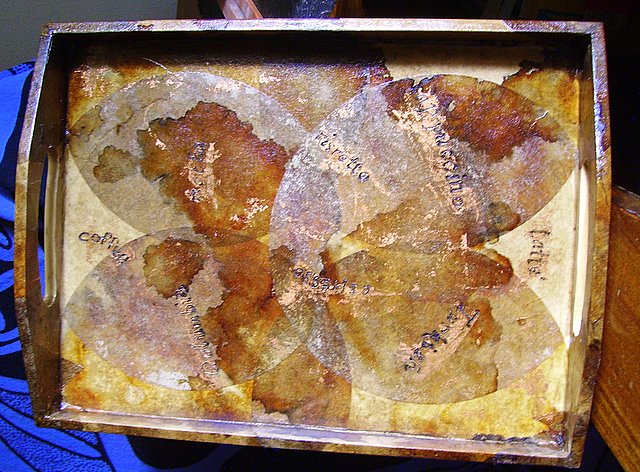
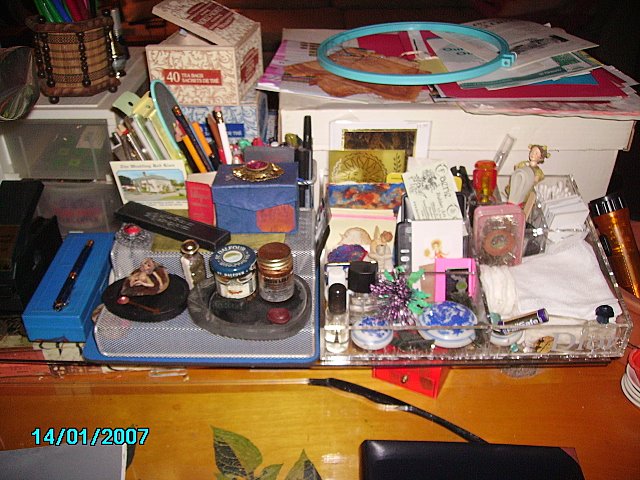
 I have covered the tray with the tea bags.
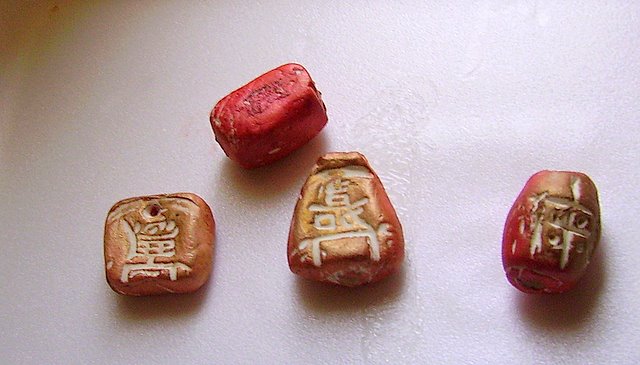 First I want to mention my tea tray
 the little jungle faces I have a mold for
 I thought I had better use some
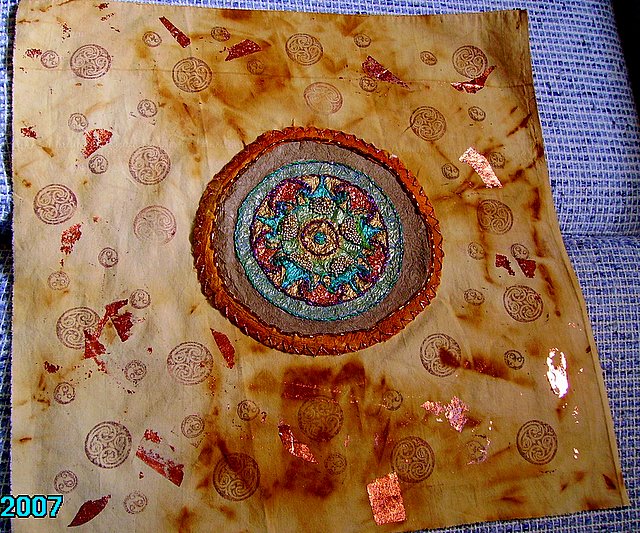
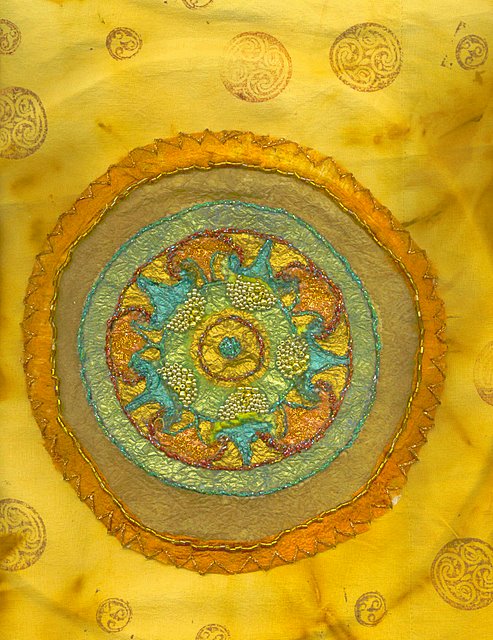 Well I put it on a piece of rust( which looks yellow but really brown) then I stamped it with my walnut ink (small Celtic circles). I used silk cocoon rods to frame the circle. I had wet them, stretched them, then to cut them in half length wise. I stitched the out side and beaded the inside of the rods I just have to hem and maybe back it.. I might add some gold foil a bit on it...
 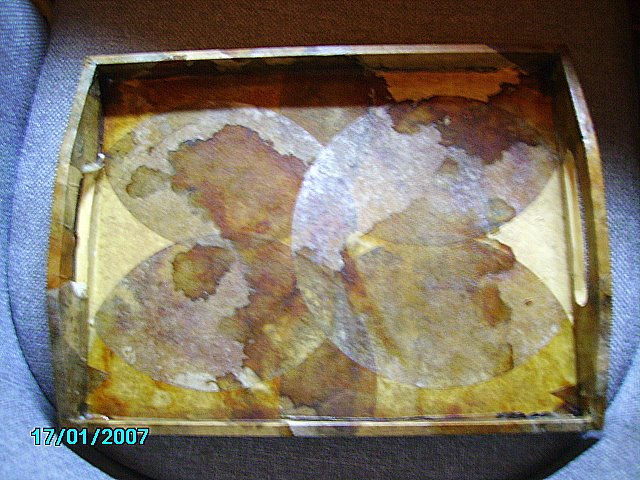 I sarted to cover the tray with coffee filters
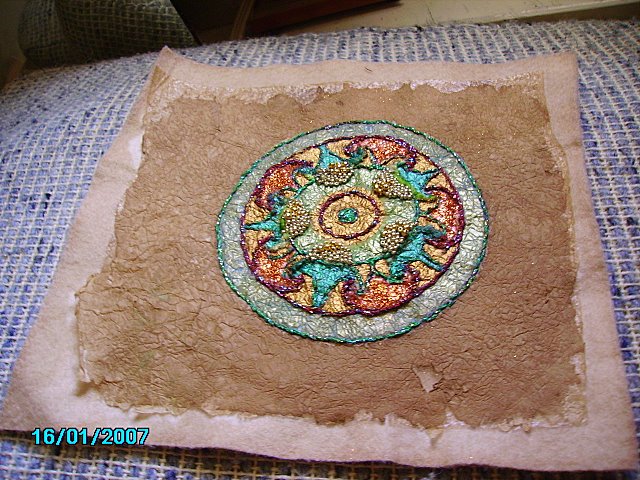 I started this in a little workshop Sandy gave me in England. We started with tissue paper I drew a celtic design in crayon then iron it on with bondoweb onto some lutrador. Then stained it with tea...
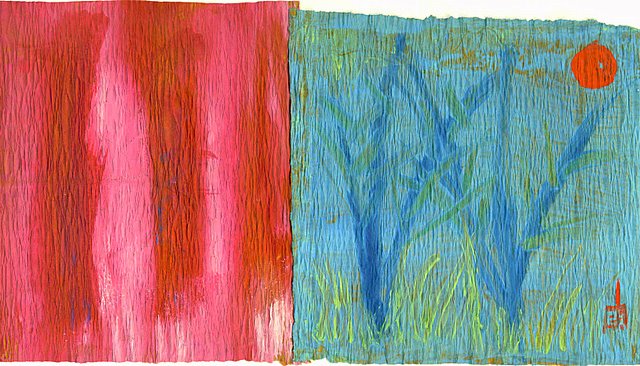
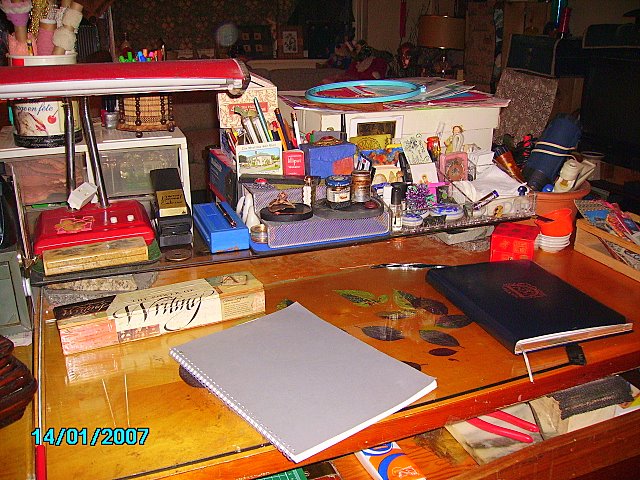
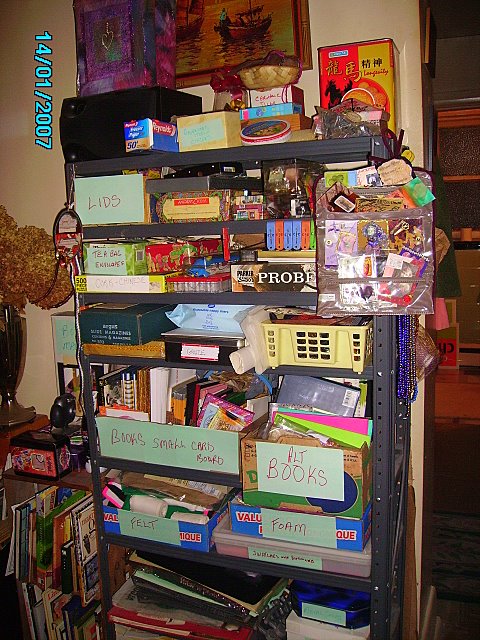
 This is what you see when you come
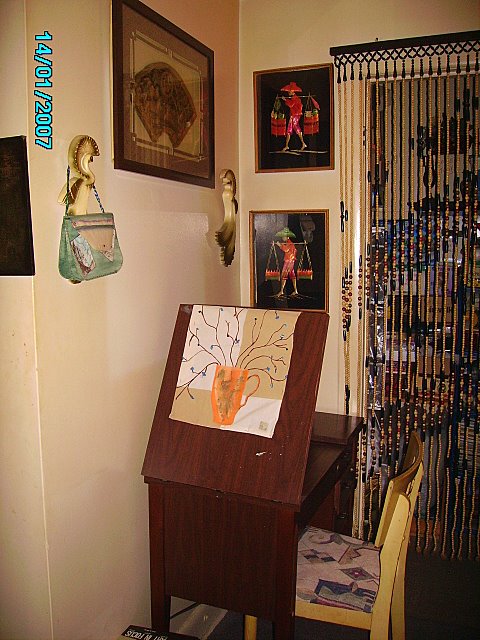 . The 2 chinese pics